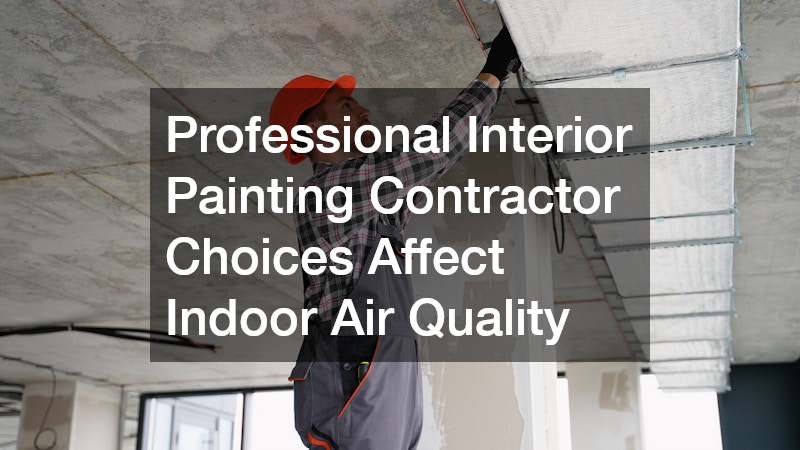

The paint fumes that linger in a freshly painted room are not just an unpleasant smell to air out with an open window. They can signal chemical compounds that affect breathing, trigger headaches, and linger in your home far longer than most people realize. Choosing who paints your interior walls, and what materials they use, has a direct impact on the air your family breathes for weeks or months afterward. Understanding the connection between painting decisions and indoor air quality helps you make smarter choices before the first brush ever touches a wall.
Understanding Volatile Organic Compounds in Paint
Volatile organic compounds, commonly called VOCs, are chemicals that evaporate from paint as it dries and cures. These compounds are responsible for that strong new-paint smell, and they can continue off-gassing at low levels for months after application. Higher concentrations of VOCs have been linked to headaches, dizziness, throat irritation, and worsened symptoms for people with asthma or respiratory sensitivities.
Not all paints are created equal when it comes to VOC content, and the differences can be significant. Oil-based paints traditionally carry much higher VOC levels than water-based latex paints, though both can contain some amount of these compounds. Knowing what to look for on a paint label helps you have an informed conversation before any work begins.
- Standard interior paint can contain anywhere from 50 to 400 grams of VOCs per liter
- Zero-VOC paints typically contain less than 5 grams per liter
- Low-VOC options usually fall between 5 and 50 grams per liter
- Tinting paint can add VOCs even to a product labeled low-VOC
- Proper ventilation during and after painting reduces indoor concentration levels
Evaluating Professional Qualifications for Paint Application Work

The person or company you hire to paint your home plays a bigger role in air quality than most homeowners expect. An experienced painting contractor understands which products perform well in different rooms while keeping chemical exposure low, and they know how to apply paint efficiently to reduce the number of coats needed. Fewer coats mean less total VOC release into your living space. When vetting a painting contractor, ask specific questions about their product knowledge and application methods. Do they recommend low-VOC or zero-VOC formulas for bedrooms and nurseries? Can they explain why certain primers seal in odors better than others, or how humidity levels affect drying time and off-gassing? A contractor who answers these questions with confidence usually has real hands-on experience, not just a sales pitch. Technique matters just as much as product selection. A skilled painting contractor uses proper spray patterns, brush loading, and roller pressure to achieve even coverage in one or two coats rather than three or four. This reduces material waste, shortens project timelines, and limits the total amount of fumes released indoors over the course of the job. Finally, check credentials and reviews that speak to professionalism and safety practices. Look for certifications from paint manufacturers, proper ventilation equipment on the job site, and a track record of completing work without excessive touch-ups. These details often signal a contractor who treats indoor air quality as a genuine priority rather than an afterthought.
A knowledgeable painting contractor should also be willing to discuss product options with you rather than defaulting to whatever is cheapest or most familiar. Ask about the brands they typically use and whether low-VOC or zero-VOC lines are part of their standard offering. Reputable contractors can usually name specific product lines, such as Benjamin Moore Natura or Sherwin-Williams Harmony, and explain why they recommend one over another for a particular room or surface. It’s also worth asking how VOC levels factor into their planning for occupied homes. A contractor familiar with air quality standards should be able to explain the difference between “low-VOC” (generally under 50 grams per liter) and “zero-VOC” (under 5 grams per liter) products, and why that distinction matters for households with children, pets, or respiratory sensitivities. They should also mention ventilation practices during and after application, since even low-VOC paints release some off-gassing as they cure. A contractor who dismisses these questions or seems unfamiliar with air quality considerations may not be prioritizing your family’s health during the project. On the other hand, one who volunteers this information before you even ask is signaling a level of expertise and care that’s worth paying for.
- Ask for product data sheets (VOC content in grams/liter) and Safety Data Sheets for any paint being used in your home
- Look for third-party certifications like Green Seal or GREENGUARD Gold, not just manufacturer claims
- Request references from clients with respiratory sensitivities, allergies, or young children in the home
- Confirm whether primers, sealers, and caulks are also low-VOC, since these are often overlooked
- Ask about paint additives like mildewcides or colorants, which can add VOCs even to a “low-VOC” base
- Discuss drying and curing time expectations before move-back-in, noting that curing can take weeks even after paint feels dry
- Ask what ventilation practices the contractor follows during and after application, such as fans or air exchange schedules
Ventilation Strategies During and After Painting
Proper airflow during a painting project is one of the simplest ways to reduce indoor exposure to fumes. Opening windows, running exhaust fans, and using portable fans to push air outward all help carry VOCs out of the home rather than letting them settle into fabrics, carpets, and furniture. This is especially important in smaller rooms or homes with limited natural ventilation.
Ventilation should not stop the moment the last coat dries. Paint continues to off-gas at lower levels for days or even weeks, so maintaining airflow for an extended period afterward helps clear residual compounds faster. Running your HVAC system with a fresh air intake, if available, can also assist in cycling out stale, chemical-laden air.
- Keep windows cracked for at least 48 to 72 hours after painting when weather allows
- Use box fans facing outward in painted rooms
- Avoid closing off painted rooms completely for several days
- Consider an air purifier with an activated carbon filter for faster VOC removal
Timing Renovation Projects Around Weather and Home Systems
Interior painting rarely happens in isolation. Many homeowners tackle it alongside other renovation or maintenance projects, and the sequence of these efforts can affect both air quality and overall project success. A good contractor will ask about your broader renovation plans before quoting a job, since the order of operations matters more than most people realize. For instance, scheduling roof repairs before an interior paint job makes sense if there is any risk of moisture intrusion, since water leaks can introduce mold spores that compound indoor air problems. Painting over a ceiling or wall that’s hiding a slow leak often means redoing the work within a year, along with dealing with the mold remediation that follows. It’s worth having a roof inspection done first if your home is more than 10-15 years past its last one. HVAC work deserves similar consideration. Running ductwork, replacing a furnace, or sealing air leaks stirs up dust and debris that can settle into wet paint or get redistributed through the house once the system is back online. Completing this work before painting, then giving the system a thorough cleaning or filter change, helps ensure fewer particulates end up embedded in fresh walls. Weather and season also shape timing decisions in ways that go beyond simple convenience. High humidity slows drying time and can trap solvents indoors longer, while very cold weather may tempt homeowners to keep windows shut during a job that badly needs ventilation. Late spring or early fall, when moderate temperatures allow for open windows without extreme humidity, often gives paint the best conditions to cure properly while off-gassing escapes rather than lingering indoors.
Coordinating with roofers ahead of an interior painting project with interior painting contractor ensures that any water damage or leak points are addressed first, preventing the need to repaint ceilings or walls that get damaged later. A roof leak that goes unnoticed can introduce moisture into drywall and insulation, creating conditions for mold growth that no amount of fresh paint will solve. Scheduling a roof inspection several weeks before painting begins gives contractors time to make repairs and let affected areas dry out completely, often requiring 48 to 72 hours of low humidity conditions before surfaces are ready for primer. It also makes sense to time interior painting around HVAC servicing, since ductwork cleaning or filter changes can stir up dust that settles on wet paint and compromises air quality. Ideally, schedule duct cleaning and filter replacement at least a few days before painters arrive, giving airborne particles time to settle and be captured by a fresh filter rather than landing on tacky surfaces. Running the HVAC fan-only setting for an hour after servicing can help clear residual dust from vents before drop cloths and paint go down. This sequencing protects your paint investment and keeps indoor air free of moisture-related contaminants. It also reduces the odds of callbacks for touch-ups, since paint applied over damp or dusty surfaces tends to peel, blister, or trap particles that later flake into the air. Homeowners who build a simple project calendar, roof and HVAC work first, painting second, typically get a smoother finish and fewer air quality complaints in the weeks following the job.
- Inspect ceilings and upper walls for water stains, discoloration, or bubbling before painting, since these signal hidden leaks that trap moisture behind fresh coats
- Schedule HVAC maintenance or duct cleaning before painting begins so dust and debris aren’t stirred into wet paint or recirculated through the house afterward
- Ask your contractor how recent weather events, like heavy rain or a humid spell, might affect timing, since damp substrates can trap moisture under new paint
- Allow structural repairs, such as patched drywall or replaced subfloor, to fully dry before applying new paint, typically 24-72 hours depending on humidity levels
- Plan interior painting during moderate-humidity seasons when possible, since high humidity slows curing and can encourage mold growth under the finish
- Avoid painting immediately after installing new insulation or vapor barriers, giving materials time to off-gas before sealing rooms with paint
- Coordinate with contractors to run exhaust fans and open windows during and after painting, especially if weather limits ventilation options
Managing Moisture and Mold Risks Indoors
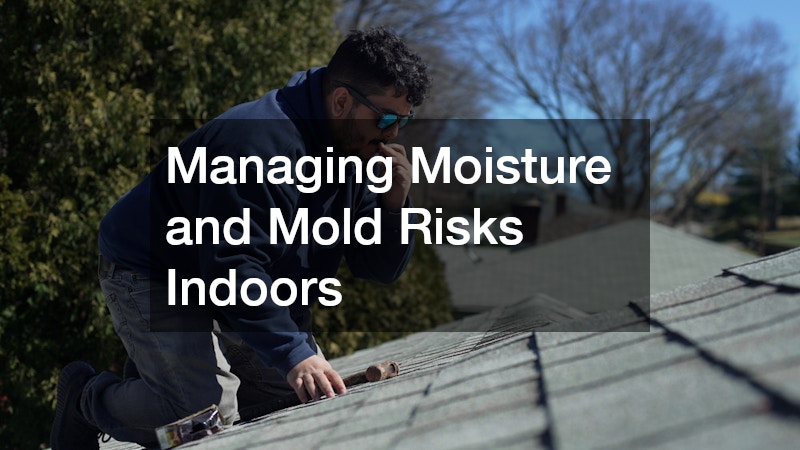
Moisture is one of the biggest hidden threats to indoor air quality, and it can undermine even the best paint job. Painting over damp drywall or hidden mold traps moisture beneath the surface, where it continues to grow and release spores into the air. This is a common issue in bathrooms, basements, and rooms adjacent to plumbing lines, but it can also stem from a compromised roof, making a timely roof replacement an important step in preventing water intrusion that leads to mold and poor air quality.
Homeowners with septic systems should also be mindful of how drainage issues can contribute to indoor moisture problems, particularly in lower-level rooms. A backed-up or poorly maintained system can cause dampness that seeps into walls near affected areas. Scheduling routine septic pumping services helps prevent these backups before they become a moisture and air quality issue inside the home.
Regular septic pumping services can also help reduce the risk of moisture-related problems caused by backups or drainage failures. By maintaining the system and addressing potential issues early, homeowners can prevent excess moisture from affecting nearby walls, floors, and indoor spaces.
- Check for musty odors before starting any paint project
- Use a moisture meter on walls near bathrooms and basements
- Address plumbing leaks fully before repainting affected areas
- Never paint over visible mold without proper remediation first
Protecting Air Quality When Preparing Surfaces
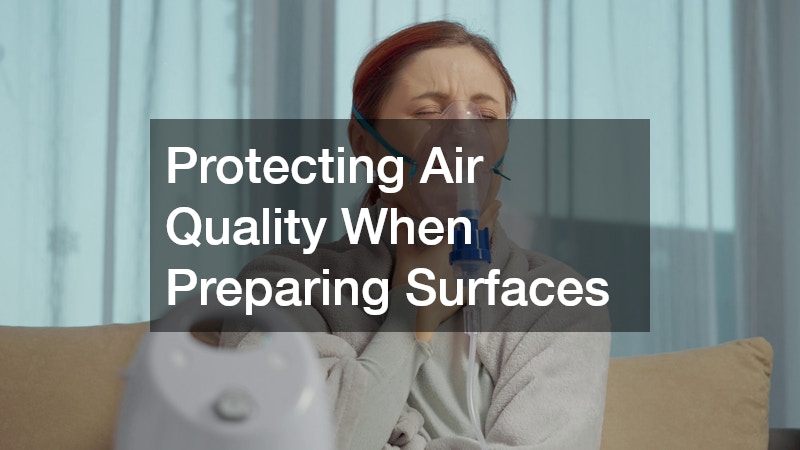
Surface preparation generates its own air quality concerns, separate from the paint itself. Sanding old paint can release fine dust particles, and in homes built before 1978, this dust may contain lead. Scraping, sanding, and patching all kick up particulate matter that can linger in the air and settle into HVAC systems if not properly contained. A qualified contractor will test painted surfaces for lead before disturbing them, especially in older homes, and follow EPA Renovation, Repair, and Painting (RRP) protocols when lead is present. This typically means using wet sanding techniques to keep dust from becoming airborne, sealing off the work area with plastic sheeting, and running HEPA-filtered air scrubbers to capture fine particles. These steps matter because lead dust is odorless and invisible, so occupants often have no warning it’s accumulating. Even in newer homes without lead concerns, drywall dust and old paint chips can aggravate asthma and allergies if they spread through the ductwork. Covering HVAC vents before sanding begins, using drop cloths, and cleaning with a HEPA vacuum rather than a broom all help keep particulates from recirculating through the home. Ask any prospective contractor how they contain dust and what cleanup procedures they follow before work is considered complete.
Surface preparation—scraping old paint, sanding rough patches, patching drywall—generates fine dust that can carry lead, mold spores, or other contaminants, especially in homes built before 1978. Responsible prep work relies on drop cloths, plastic sheeting, and dust containment methods like zip walls or negative air machines to limit how far these particles travel throughout the home. A qualified contractor will seal off HVAC vents before sanding begins, since forced-air systems can otherwise distribute dust into rooms far from the actual work area. Crews should also wear appropriate respiratory protection, such as N95 or P100 respirators depending on the materials involved, and recommend that residents, especially children, pregnant women, and pets, stay out of the work area during heavy prep work. For older homes, a certified lead-safe contractor should test paint chips before sanding starts, since disturbing lead-based paint without proper containment can create long-term health hazards. Just as homeowners schedule routine septic system pumping to prevent bigger problems down the line, scheduling regular dust containment checks during a painting project helps catch issues before they spread. A quick daily walkthrough to inspect seals on plastic sheeting and confirm that containment barriers remain intact can prevent a small leak of dust from becoming a whole-house cleanup problem. Cleaning surfaces with a HEPA vacuum after sanding further reduces airborne particulate before painting begins, since standard shop vacuums often recirculate the smallest, most harmful particles back into the air. Wiping down surrounding surfaces with a damp microfiber cloth afterward captures any remaining residue that settled before the vacuum pass.
- Ask if lead paint testing is needed for homes built before 1978, since federal RRP rules require certified containment practices for any confirmed lead surfaces
- Request plastic sheeting to seal off work areas from the rest of the home, including doorways, vents, and HVAC returns to stop dust migration
- Confirm cleanup procedures for dust and debris, such as HEPA vacuuming and wet-wiping surfaces instead of dry sweeping
- Ask whether the crew uses HEPA-filtered sanders or dust extraction tools to cut airborne particulate during prep
- Keep sensitive household members away during sanding phases, especially children, pregnant women, and anyone with asthma or allergies
- Check how often air filters or HVAC systems will be inspected and changed after heavy sanding to remove residual fine dust
Selecting Paint Finishes That Support Better Air Quality
The finish you choose affects more than appearance; it can also influence long-term air quality and maintenance needs. Washable, low-sheen finishes tend to resist mold and mildew growth better in humid rooms, which reduces the chance of future air quality issues. Matte and eggshell finishes are popular for bedrooms and living areas, while satin or semi-gloss options hold up better in kitchens and bathrooms where moisture is more common.
Some specialty paints are formulated specifically to resist mold and mildew or to actively absorb odors and pollutants from the air. These products can be a smart investment in rooms prone to dampness or heavy use. Discussing finish options with your contractor ensures you get both the look and the air quality benefits your space needs.
- Satin and semi-gloss finishes hold up well in kitchens and bathrooms
- Matte finishes work well in low-moisture living spaces
- Mold-resistant formulations are available for humid climates
- Odor-absorbing paints can help in homes with pets or smokers
Extending Air Quality Awareness to Outdoor Living Spaces

Indoor air quality decisions often connect to broader home improvement choices, including how you use and maintain outdoor areas. If your renovation plans include updating a patio, deck, or waterfront structure, working with a dock company or outdoor design specialist alongside your interior projects can help you sequence work so that dust and debris from one project do not drift into freshly painted interior spaces. This coordination matters most when projects overlap by even a few days, since sanding, cutting, or pressure-washing outdoors can send fine particles airborne well before they settle. Open windows during outdoor construction can inadvertently pull sawdust, sealant fumes, or pollen indoors, especially on breezy days or when fans are running to speed paint curing. A simple fix is to establish a project calendar with your contractors: finish messy outdoor work like deck sanding or dock staining before interior painting begins, or seal off interior rooms with plastic sheeting if timelines must overlap. It also helps to ask your outdoor design contractor what materials and finishes they plan to use, since some deck stains and sealants off-gas strongly for 24 to 72 hours. Timing your interior painting to avoid this window, and keeping windows closed until outdoor odors dissipate, reduces the chance of mixing two sets of airborne chemicals inside your home.
Thinking holistically about your property, rather than tackling projects in isolation, helps protect the air quality gains you achieve indoors. If your interior painting wraps up the same week a deck stain or exterior power-washing job kicks off, open windows and shared ventilation paths can easily pull those outdoor fumes right back inside. Coordinating timelines between indoor and outdoor contractors reduces the chance that one project undoes the benefits of another. Solvent-based deck stains, driveway sealants, and exterior paints often carry stronger VOC concentrations than their interior counterparts, precisely because they’re formulated to withstand weather. Scheduling these jobs with at least a few days’ buffer—rather than back-to-back with interior work—gives fumes time to dissipate before they have a chance to migrate indoors through doors, windows, or HVAC intake vents. It also gives you a clearer picture of your home’s overall maintenance calendar. Mapping out projects like painting, roof treatments, pest control, and landscaping chemical applications on a shared timeline lets you spot potential overlaps before they happen. This kind of forward planning turns air quality management from a reactive scramble into a simple, proactive habit.
- Schedule outdoor construction and interior painting on separate timelines when possible, ideally with a few days’ buffer between projects
- Close windows and doors facing active outdoor work sites, especially during sanding, staining, or sealing that release airborne particles
- Run HVAC systems on recirculate mode rather than fresh-air intake when nearby outdoor work generates dust or fumes
- Communicate project schedules between different contractors so painting crews and outdoor crews aren’t overlapping on ventilation needs
- Plan landscaping, deck staining, or pressure washing after interior air has fully cleared, typically 48-72 hours after painting with low-VOC products
- Ask contractors about wind direction and weather forecasts, since fumes from outdoor sealants or stains can drift toward open windows
- Keep outdoor chemical storage (paints, solvents, stains) away from home entry points and air intake vents during active projects
Indoor air quality is shaped by a series of decisions that often go unnoticed until symptoms appear or odors linger longer than expected. From the paint you select to the contractor you hire and how you handle ventilation and moisture, each choice adds up. Take time to ask questions, request product information, and think about how your painting project fits into your home’s broader maintenance needs before work begins.